ワードプレスの Gutenbergエディタ に、独自のCSSを適用させる方法です。投稿や固定ページ、カスタム投稿など、投稿タイプ別に適用させることが可能です。
エディタで編集作業を行う際に、実際のサイト表示に近い状態で編集することができるようになります。
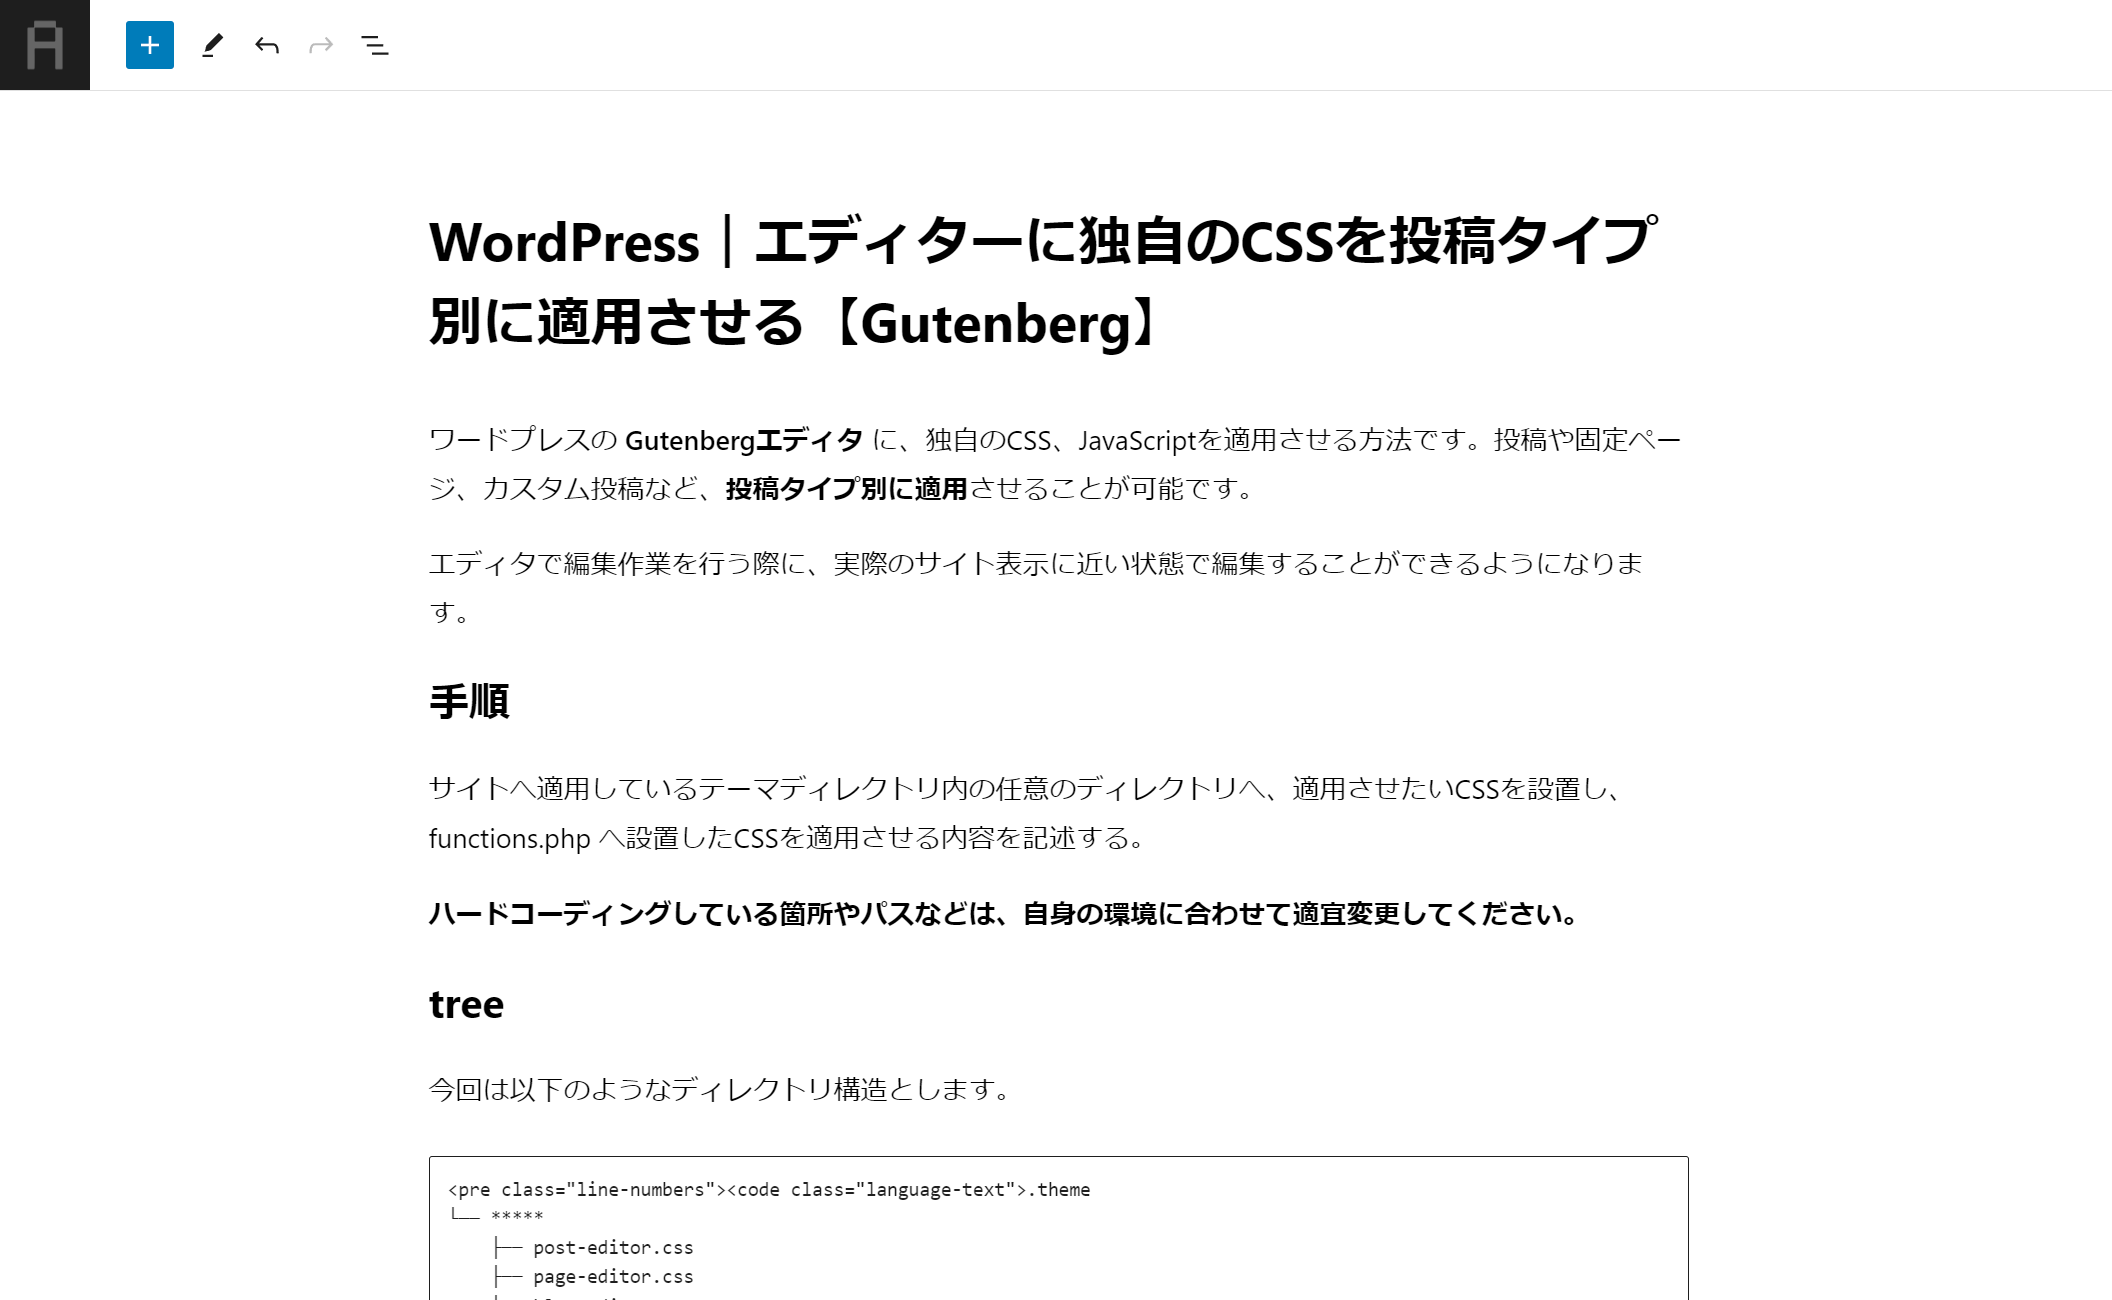
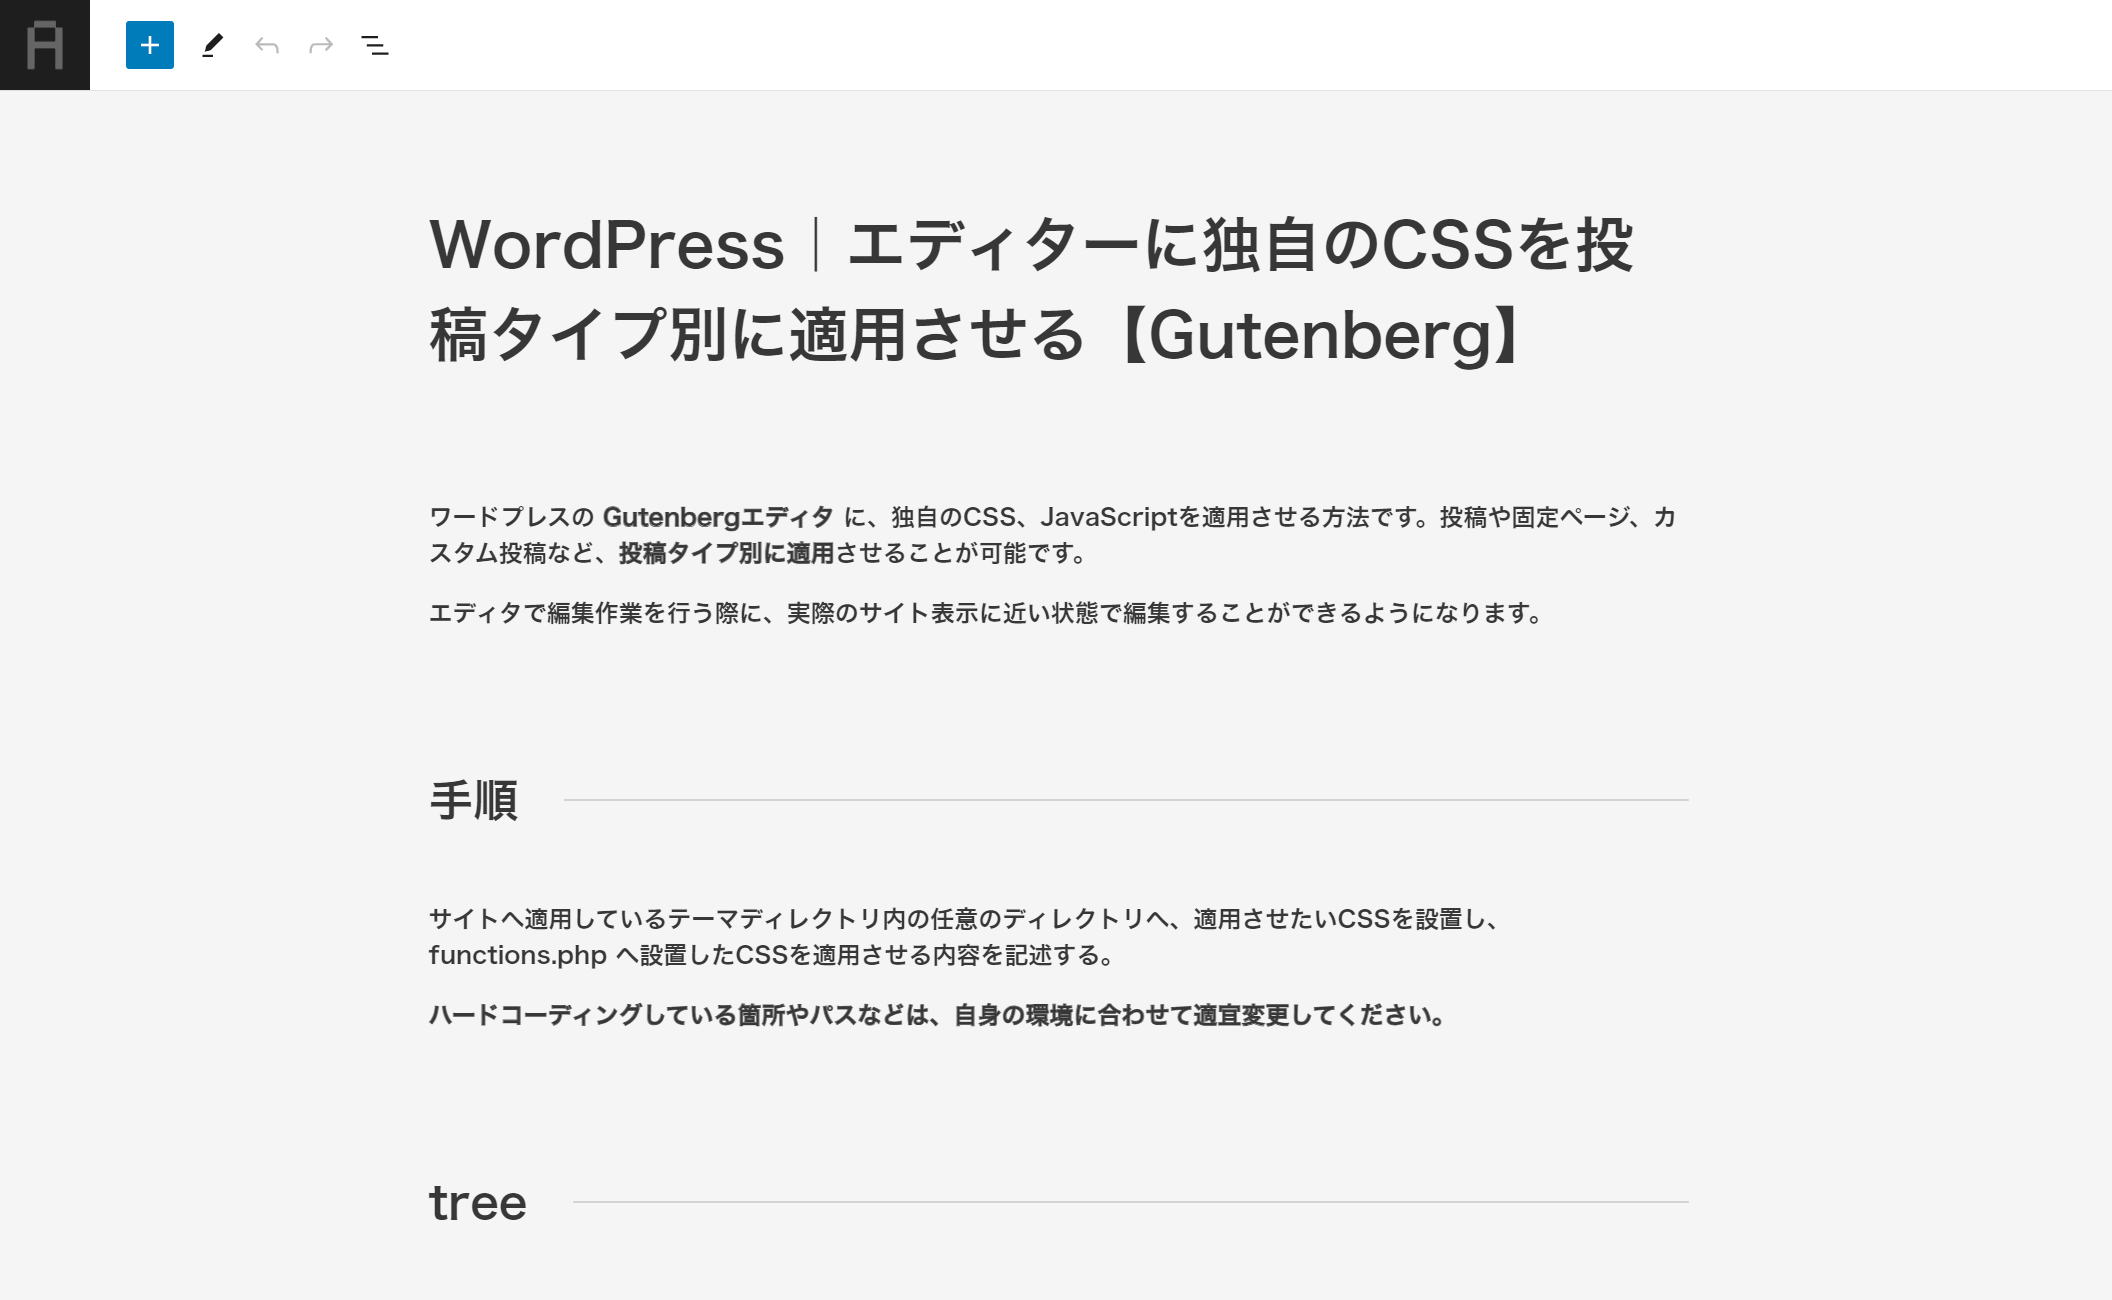
ビフォーとアフター
当サイトの場合、下記画像のようカスタム投稿のみに適用しています。


手順
サイトへ適用しているテーマディレクトリ内の任意のディレクトリへ、適用させたいCSSを設置し、functions.php へ設置したCSSを適用させる内容を記述する。
ハードコーディングしている箇所やパスなどは、自身の環境に合わせて適宜変更してください。
tree
今回は以下のようなディレクトリ構造とします。
.theme
└── *****
    ├── post-editor.css
    ├── page-editor.css
    └── blog-editor.css
CSS
投稿タイプ別に、それぞれに適用したい内容を記述する。今回は割愛。
functions.php
functions.php へ以下を追記します。
add_action('enqueue_block_editor_assets', function() {

    global $post;
    add_theme_support('editor-styles');

    //投稿へ「post-editor.css」を適用
    if ($post && $post->post_type === 'post') {
        add_editor_style('*****/post-editor.css');
        return;
    }

    //固定ページへ「page-editor.css」を適用
    if ($post && $post->post_type === 'page') {
        add_editor_style('*****/page-editor.css');
        return;
    }

    //カスタム投稿「blog」へ「blog-editor.css」を適用
    if ($post && $post->post_type === 'blog') {
        add_editor_style('*****/blog-editor.css');
        return;
    }
});
※「$post && $post->post_type === ‘*****’」の ‘*****’ は適用させたい投稿タイプを指定する。
参考
add_theme_support() | Function | WordPress Developer Resources
add_editor_style() | Function | WordPress Developer Resources
